Machine Vision in Forging Industry

From product design through mass production to finished product delivery, the machine vision technology assists in addressing issues such as reverse engineering, precision testing, quality control, and process optimization, etc

Machine vision is applied to the entire production chain of the forging industryPrecision testing, quality control, process optimization, etc

  • Issues

    Common challenges encompass complex reverse design, insufficient precision detection, lax quality control, difficult process optimization, low mass production efficiency and insufficient quality assurance of finished products. Traditional methods are often difficult to meet the needs of high precision and high efficiency, resulting in high production costs, unstable product quality, and thus affecting market competitiveness

  • Solutions

    High-precision 3D scanning and image processing technology enable real-time detection for consistent product quality. By monitoring production, automatically identifying and rejecting substandard products, optimizing workflows and improving batch efficiency, as well as comprehensive final product inspection, production efficiency and product quality can be significantly improved, helping companies gain a competitive edge

Issues

Common challenges encompass complex reverse design, insufficient precision detection, lax quality control, difficult process optimization, low mass production efficiency and insufficient quality assurance of finished products. Traditional methods are often difficult to meet the needs of high precision and high efficiency, resulting in high production costs, unstable product quality, and thus affecting market competitiveness

Solutions

High-precision 3D scanning and image processing technology enable real-time detection for consistent product quality. By monitoring production, automatically identifying and rejecting substandard products, optimizing workflows and improving batch efficiency, as well as comprehensive final product inspection, production efficiency and product quality can be significantly improved, helping companies gain a competitive edge

Optical 3D Measurement Technology

Using laser, structured light and other optical tools combined with computer algorithmsfor non-contact, high-precision 3D measurement of object shapes and dimensions

Using laser, structured light and other optical toolsAcquire the three-dimensional shape and dimensions of objects

Room Temperature Optical 3D Measurement
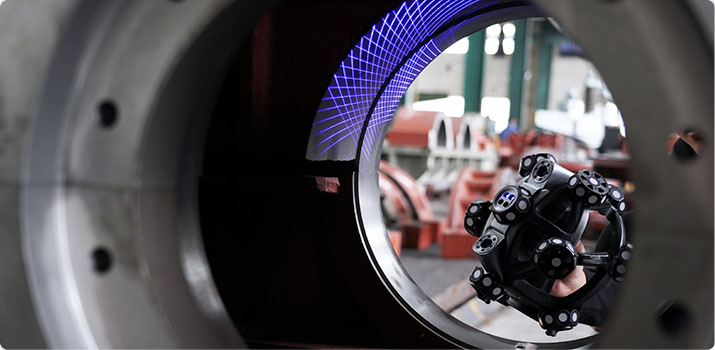
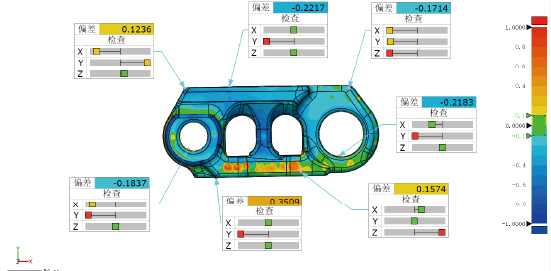
Emit a structured light grating or laser beam to the surface of an object to capture and record the reflected light from different angles and construct the three-dimensional coordinate information of the object surface. The computer system uses the captured data points to generate 3D point clouds, which are suitable for data acquisition of reverse design, 3D inspection, visual guidance and mold restoration

High Temperature Optical 3D Measurement
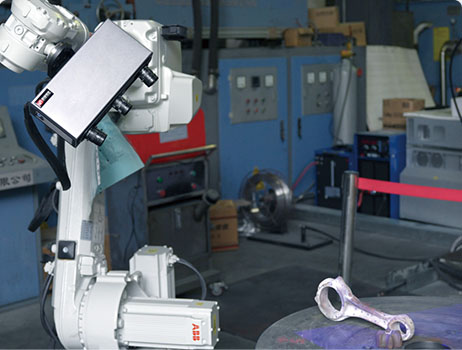
Accurate three-dimensional measurement of high temperature objects can be achieved through high temperature resistant optical sensors, protection and cooling systems, optical filtering, precision calibration and advanced image processing algorithms, to accurately control the status of the production line, optimize the forging process and intelligent line, and achieve the purpose of controlling the shape and quality of forgings

Room Temperature Optical 3D Measurement

Emit a structured light grating or laser beam to the surface of an object to capture and record the reflected light from different angles and construct the three-dimensional coordinate information of the object surface. The computer system uses the captured data points to generate 3D point clouds, which are suitable for data acquisition of reverse design, 3D inspection, visual guidance and mold restoration

High Temperature Optical 3D Measurement
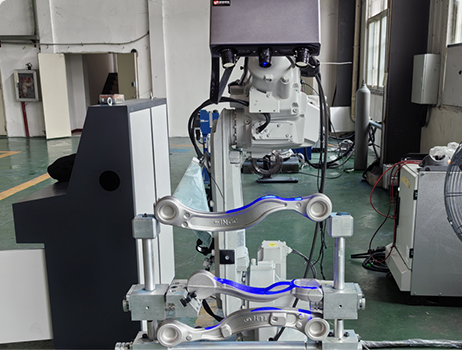
Accurate three-dimensional measurement of high temperature objects can be achieved through high temperature resistant optical sensors, protection and cooling systems, optical filtering, precision calibration and advanced image processing algorithms, to accurately control the status of the production line, optimize the forging process and intelligent line, and achieve the purpose of controlling the shape and quality of forgings

Product testing

Rapidly conduct bulk dimension inspections of productsProvide accurate and consistent test results to ensure product consistency

Rapidly conduct bulk dimension inspections of productsProvide accurate and consistent test results

First & Last Article Inspection

The first and last parts of a single batch are inspected to evaluate the status of the production line and prevent the occurrence of batch out-of-tolerance, repair, scrap, etc

Edge Inspection

Set up multiple detection stations, the system configurable for high-temperature or standard probes to accommodate various product testing throughout the workshop

Online Detection

Online full inspection or frequency random inspection can promptly detect quality issues in the production process, significantly improve the product pass rate

Quality Control

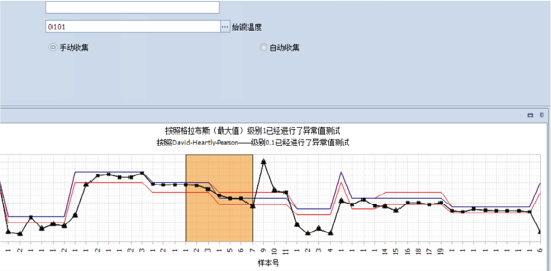
Real-time monitoring of production line status for timely adjustment and reduce defective productsAutomatic recording of test data for traceability and analysis, supporting continuous process improvement and optimization

Real-time monitoring of production line status to reduce defective productsHelp with process improvement and optimization

Critical Dimension Inspection

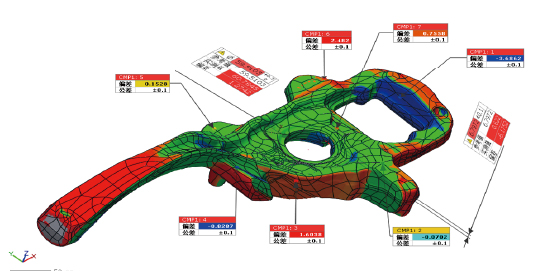
Only the key dimensions of the forgings are inspected, which can greatly improve the inspection efficiency to meet the requirements of high-beat production inspection and reduce equipment and operating costs

Full Inspection

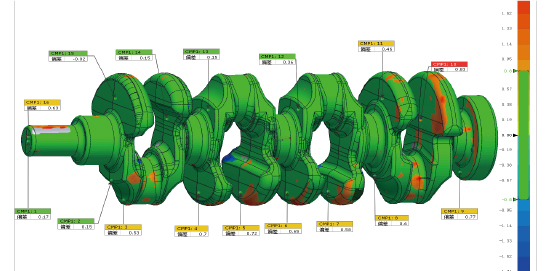
If the cycle time allows, the global data collection of entire forging can be realized by the global point cloud to meet the full dimension inspection requirements for the forging

Process Optimization

Based on the dimensional data in the mass production process, it can optimize the die design and forming process, reduce the machining allowance, save energy and materials, and promote the development of the forging process in the direction of lean forging

Quality Traceability

The quality data of visual measurement interacts with MES in real time, establishing a unique correspondence between quality data and material ID, and achieving two-way accurate quality traceability

Visual Guidance

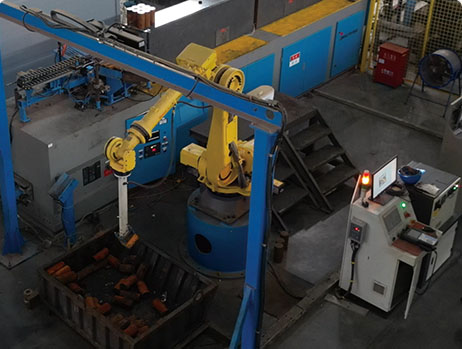
Provide real-time and accurate visual information through Industrial 3D Camera and Image Processing AlgorithmsGuide robots and automated systems to complete a variety of complex tasks

Guide robots and automation systems to complete various complex tasksthrough Industrial 3D Camera and Image Processing Algorithms

Intelligent Loading and Unloading

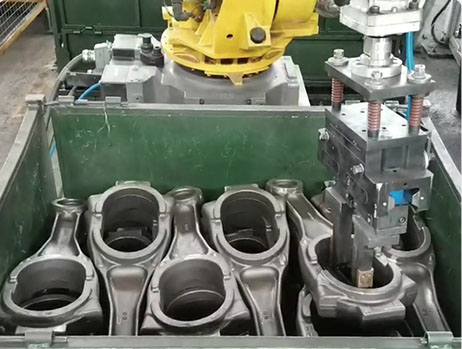
The robot actions are adjusted in real time through accurate posture estimation and path planning to coordinate with the entire production line, replacing manual operations

Sorting in Random & Ordered

3D camera dynamically generates point cloud data of random or ordered workpieces by simulation scanning, automatically plans the grasping path for high-speed picking

Additive Mold Repair and Remanufacturing

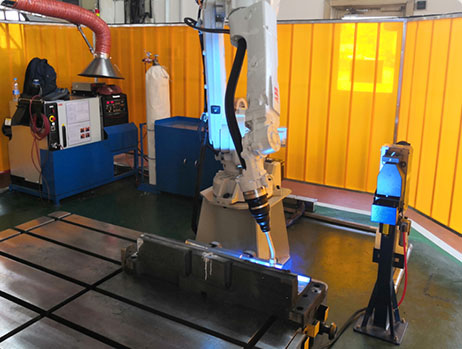
Restore mold and improve mold performance by depositing gradient materials layer by layer on damaged or worn parts of the mold through additive manufacturing technology

Newwish offers you the most professional solutions

Newwish offers youthe most professional solutions

Contect
×

Let us contact you

×

Message send. thank you

Wuhan Newwish Technology Co.,ltd.

+86 138 7112 6889 

overseas@newwishtech.com

No.2,Venture Avenue, Gedian Economic Development Zone, 
Ezhou, Hubei, China

Follow us for the latest updates!
Copyright © 2024 Newwish All Rights Reserved.